Using Aluminum Cans for Jewelry Making
Materials used:
- Aluminum cans
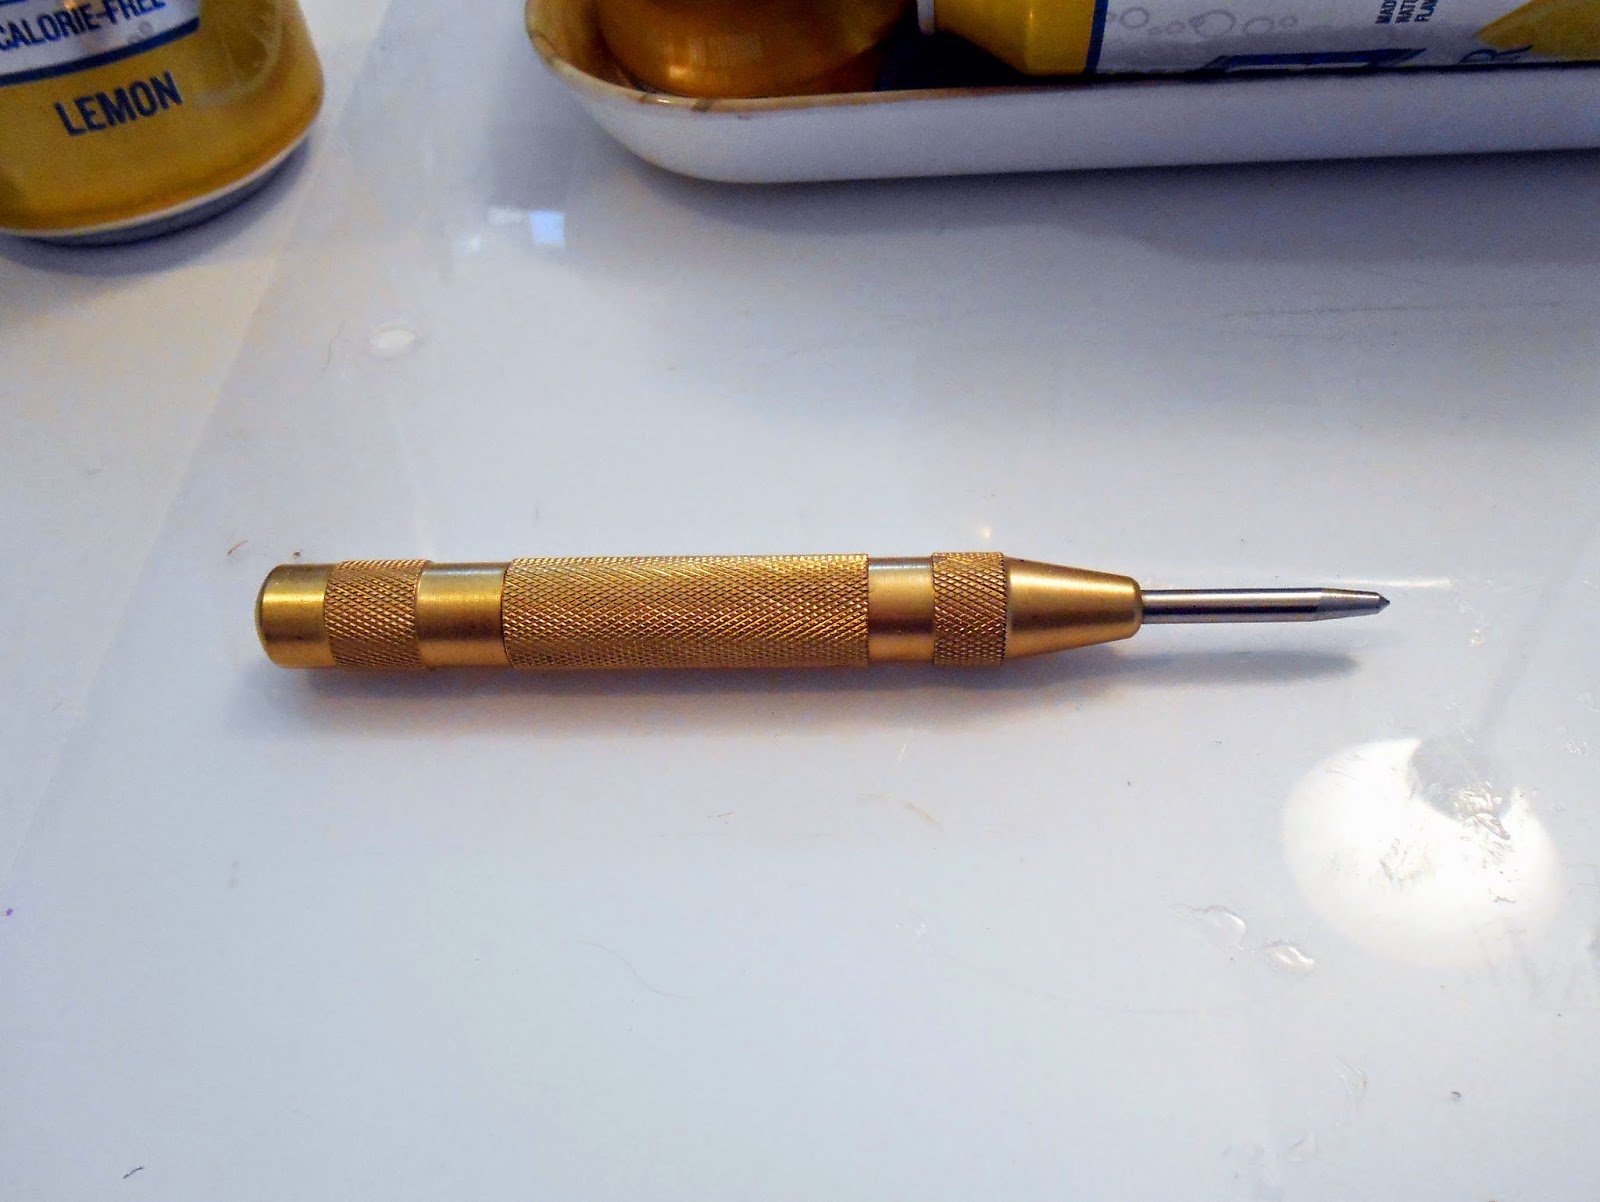
- Center Punch
- Metal Shears
Here's Tammy's original tutorial that inspired this post and some of the pieces she made:
And the follow up she posted with aluminum cans:
And here's what I made. From the front, you'd probably never guess that they were made from aluminum cans.
But flip them over...
Here's what I started with.
I used a center punch to poke a hole in the top and bottom of the can. An exacto knife works, too, though I broke the tip off of a blade trying to do this. 

I used metal shears to cut the top and the bottom of the can off. It's pretty thin metal, so you could probably even use regular scissors.
Here you're left with a sheet of aluminum.
I found it easiest to work with when I cut it into smaller pieces.
I tried flattening it a few ways, but rolling it against the edge of the table seemed to work best. It doesn't have to be perfectly flat, especially if you're planning to emboss or dap it, as I did with the earrings shown above.
You end up with a lot of metal bits left over. Be careful not to cut yourself. It's like a paper cut on steroids.
All of this material came from a twelve pack of seltzer cans. Plenty of material to play with, especially if you're just beginning to do some metalwork.
Some people also use disposable aluminum cookie sheets to make decorative tiles. See Suzy Myers' beautiful work here as well as a tutorial on how to make these tiles:
I'll continue this tutorial in the next post where I'll show how I punched out the circles, embossed them, dapped them, and punched holes for earwires.


